Surveying small mammals is a difficult yet immensely rewarding task but many current ‘tried and tested’ methods rely on very invasive means, like live trapping, which takes a lot of time and can lead to distress in animals that have been captured. There is currently a slew of methods which have been tested to passively ‘trap’ small mammals in a non-invasive manner. One such method which has been used extensively for larger mammals is camera trapping. Over time, it has become relatively inexpensive and quite easy to do but, due to the size of the camera and the range of animals it can pick up, it can be tricky to get good quality photographs of small mammals. Hopefully, some of the tips in the article will help you capture good quality photographs and footage of small mammals without the many problems posed by camera trapping.
The problem
Small mammals can be difficult to capture on camera traps due to their size, as the trap needs to be positioned close to the ground and the animals need to come quite close for the motion to trigger the camera. Also, for small mammals to approach traps, there needs to be enough cover for them to feel safe. Relying on vegetation, however, can lead to you trawling through thousands of shots of grass and leaves blowing in the wind before finding one good picture. The proximity of the animals to the camera can also mean the photos become overexposed - when there is too much light from the flash - leaving the pictures very over-saturated and too white to determine any details. Some camera traps can also have difficulty focusing on a subject that is too close to the lens, as they are designed for broad fields of view, leading to distorted or blurry pictures.
The solution
Many of the issues with camera trapping small mammals such as cover and trigger distance can be solved by using a camera trap tunnel, to both simultaneously hold the camera and provide cover for the animals which encourages them to come closer to the lens. We came across an article by Scottish Wildcat Action, which described some of the processes of making such a tunnel and converting your ‘bog-standard’ camera trap so that it may work over shorter distances to capture images of small mammals. We set about doing the same for our camera trap, so we could get some small mammal images ourselves, and decided to provide all the necessary details so that other people can do this at home!
The tunnel
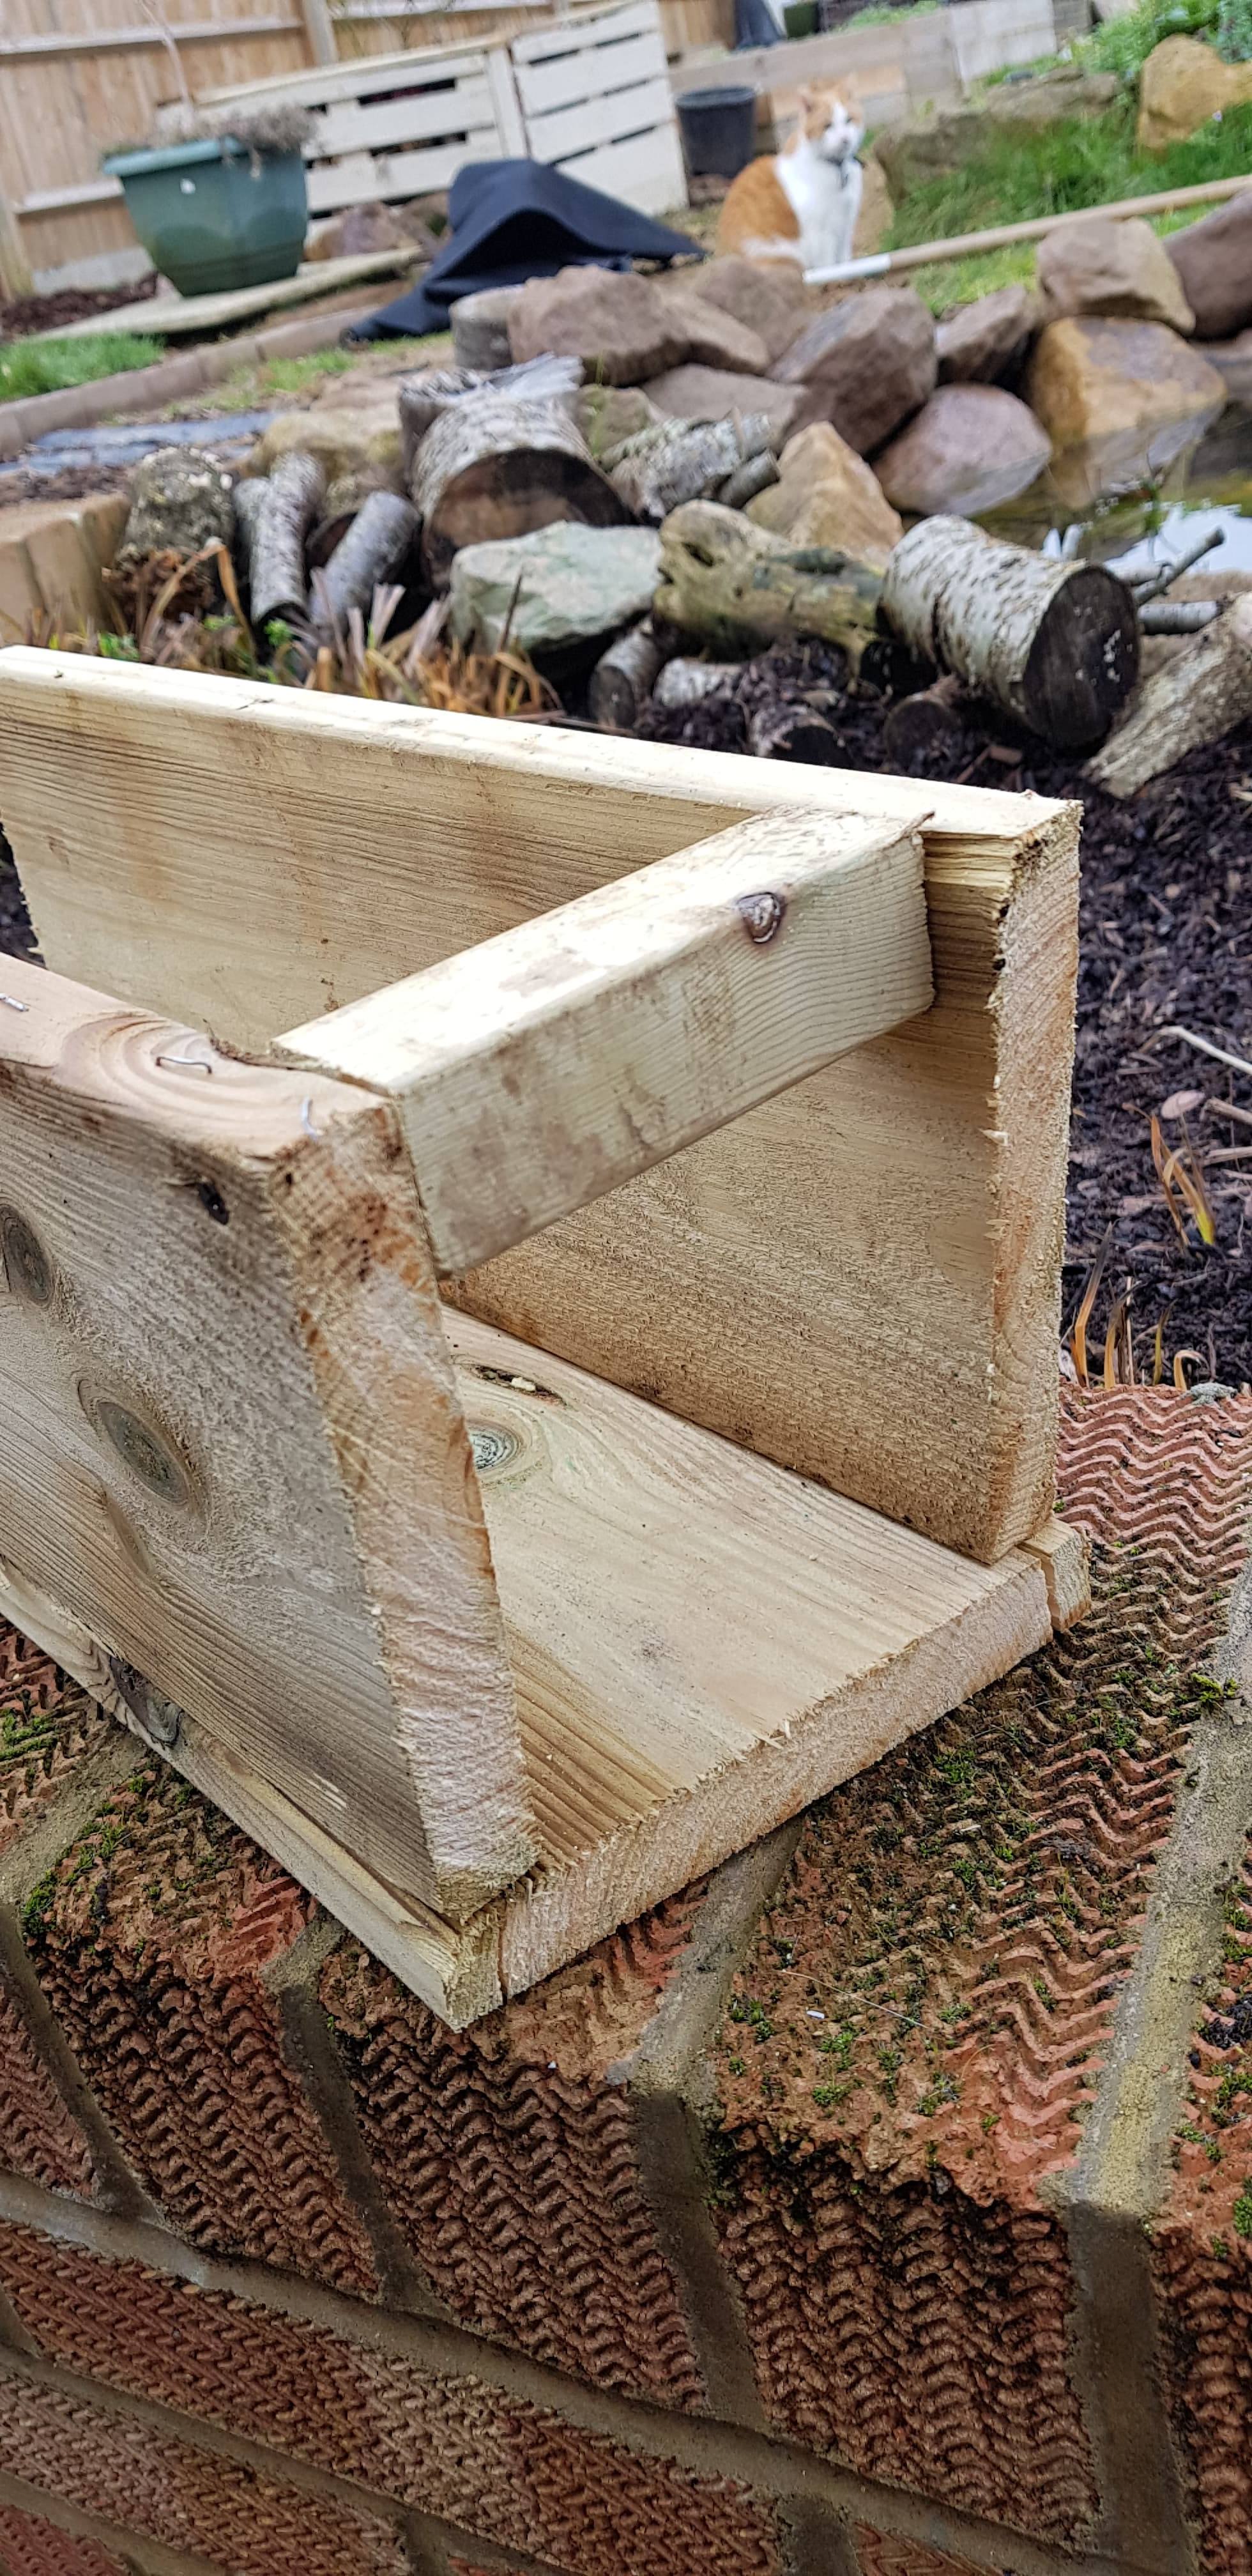
To create the tunnel you will need:
3 planks (36cm x 16cm)
1 piece of perspex (36cm x 16cm; we used a picture frame cover, this allows natural light into the tunnel for colour photos)
1 strut (~12cm long to hold the tunnel walls part)
10 4cm screws
Warning: please be careful sawing wood, and especially perspex which can shatter a little when cutting to size.

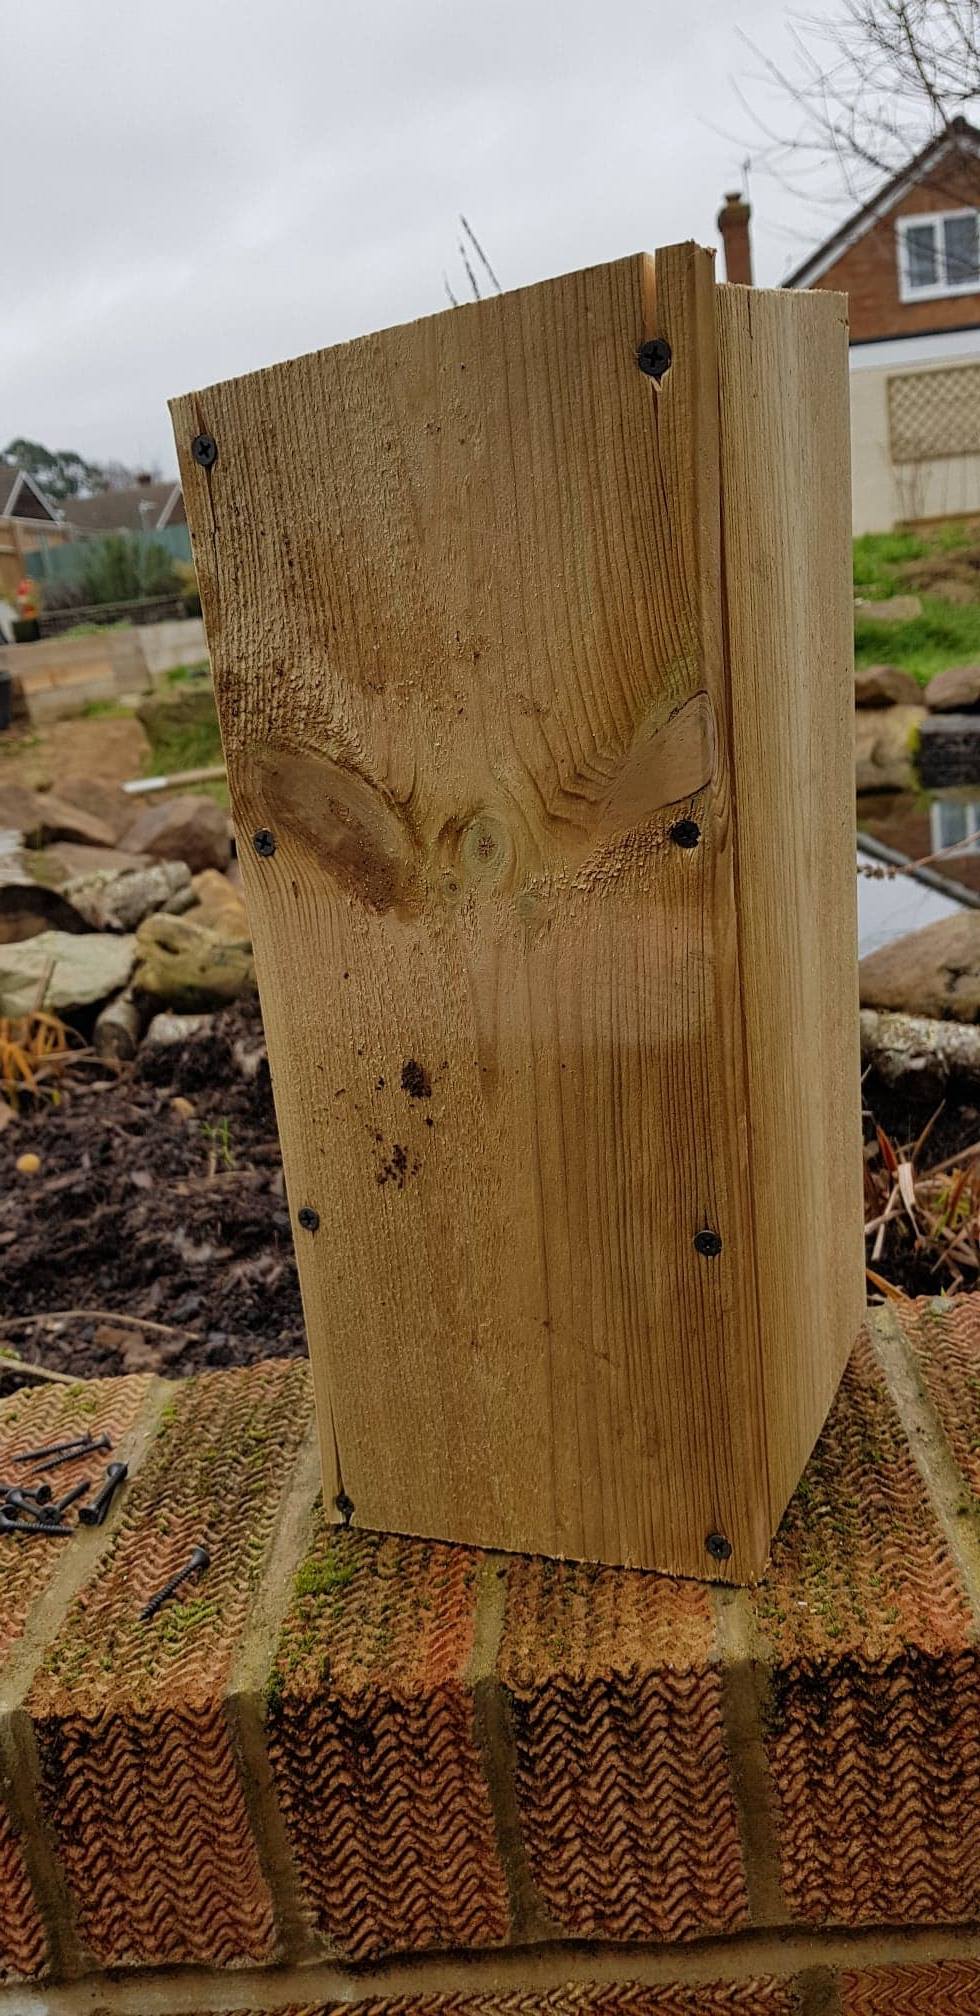
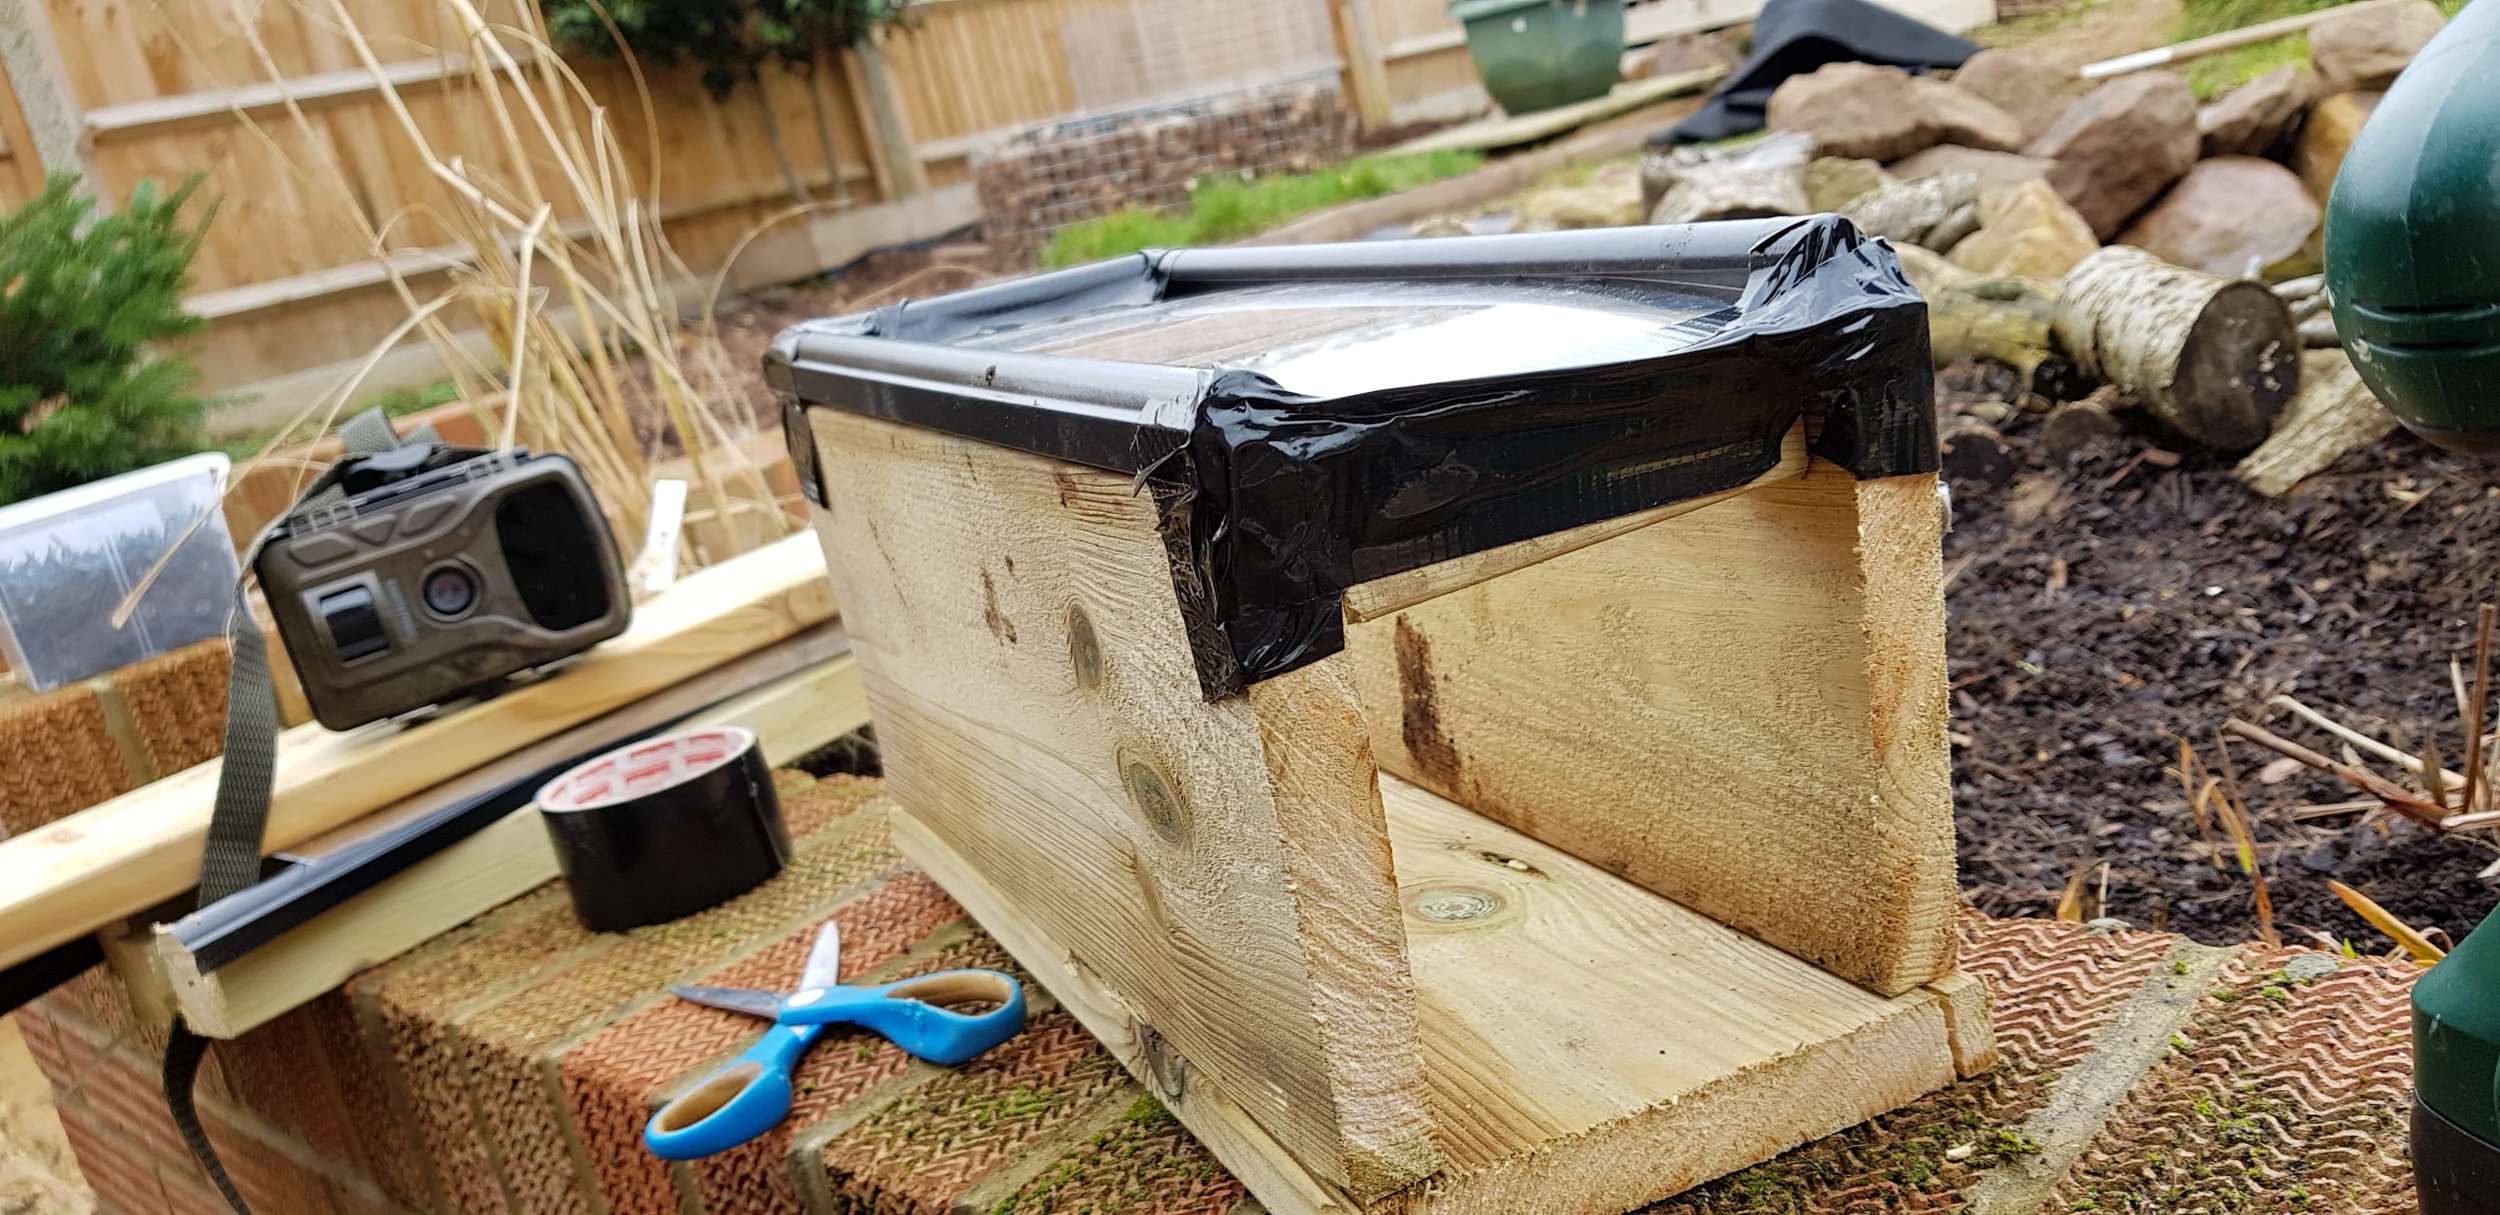
We found these measurements created a tunnel that allows our camera to sit snugly inside, depending on the make of your camera trap it may need to be a little bigger. Create the wooden part of the tunnel by placing two of the planks on top of the third to create a trough shape, and screw in place using 8 screws. Place the strut at one end of the tunnel on the top open side to support the walls, and screw in place with the remaining 2 screws. Tape/glue the perspex onto the top of the box and you’re done!

Modifying the camera
Now you have tunnel there are a few modifications to the camera trap that are needed before starting:

The infrared flash needs to be dampened to prevent overexposure of the photos, which can be achieved by placing microporous (medical) tape over the flash. This is a thin tape which allows some amount of light through and is only mildly sticky so shouldn’t damage the camera or be difficult to remove if you wish to do so later. If the daylight sensor of the camera is located in the flash unit, make a small hole in the tape so the camera can still sense light through it.
Depending on the make of the camera trap, it might be necessary to alter the focal length of the camera, so that close photos aren’t blurry. We found after some test photos with our Earthtree camera trap (model TC700) that this wasn’t necessary. However, if it is needed with your camera, you can purchase a close-focus filter for the camera that can be bluetacked over the camera lens to change the focal length. Some makes of camera trap also have a close focus modifier that you can buy direct to modify the focal length as required.
Getting images!
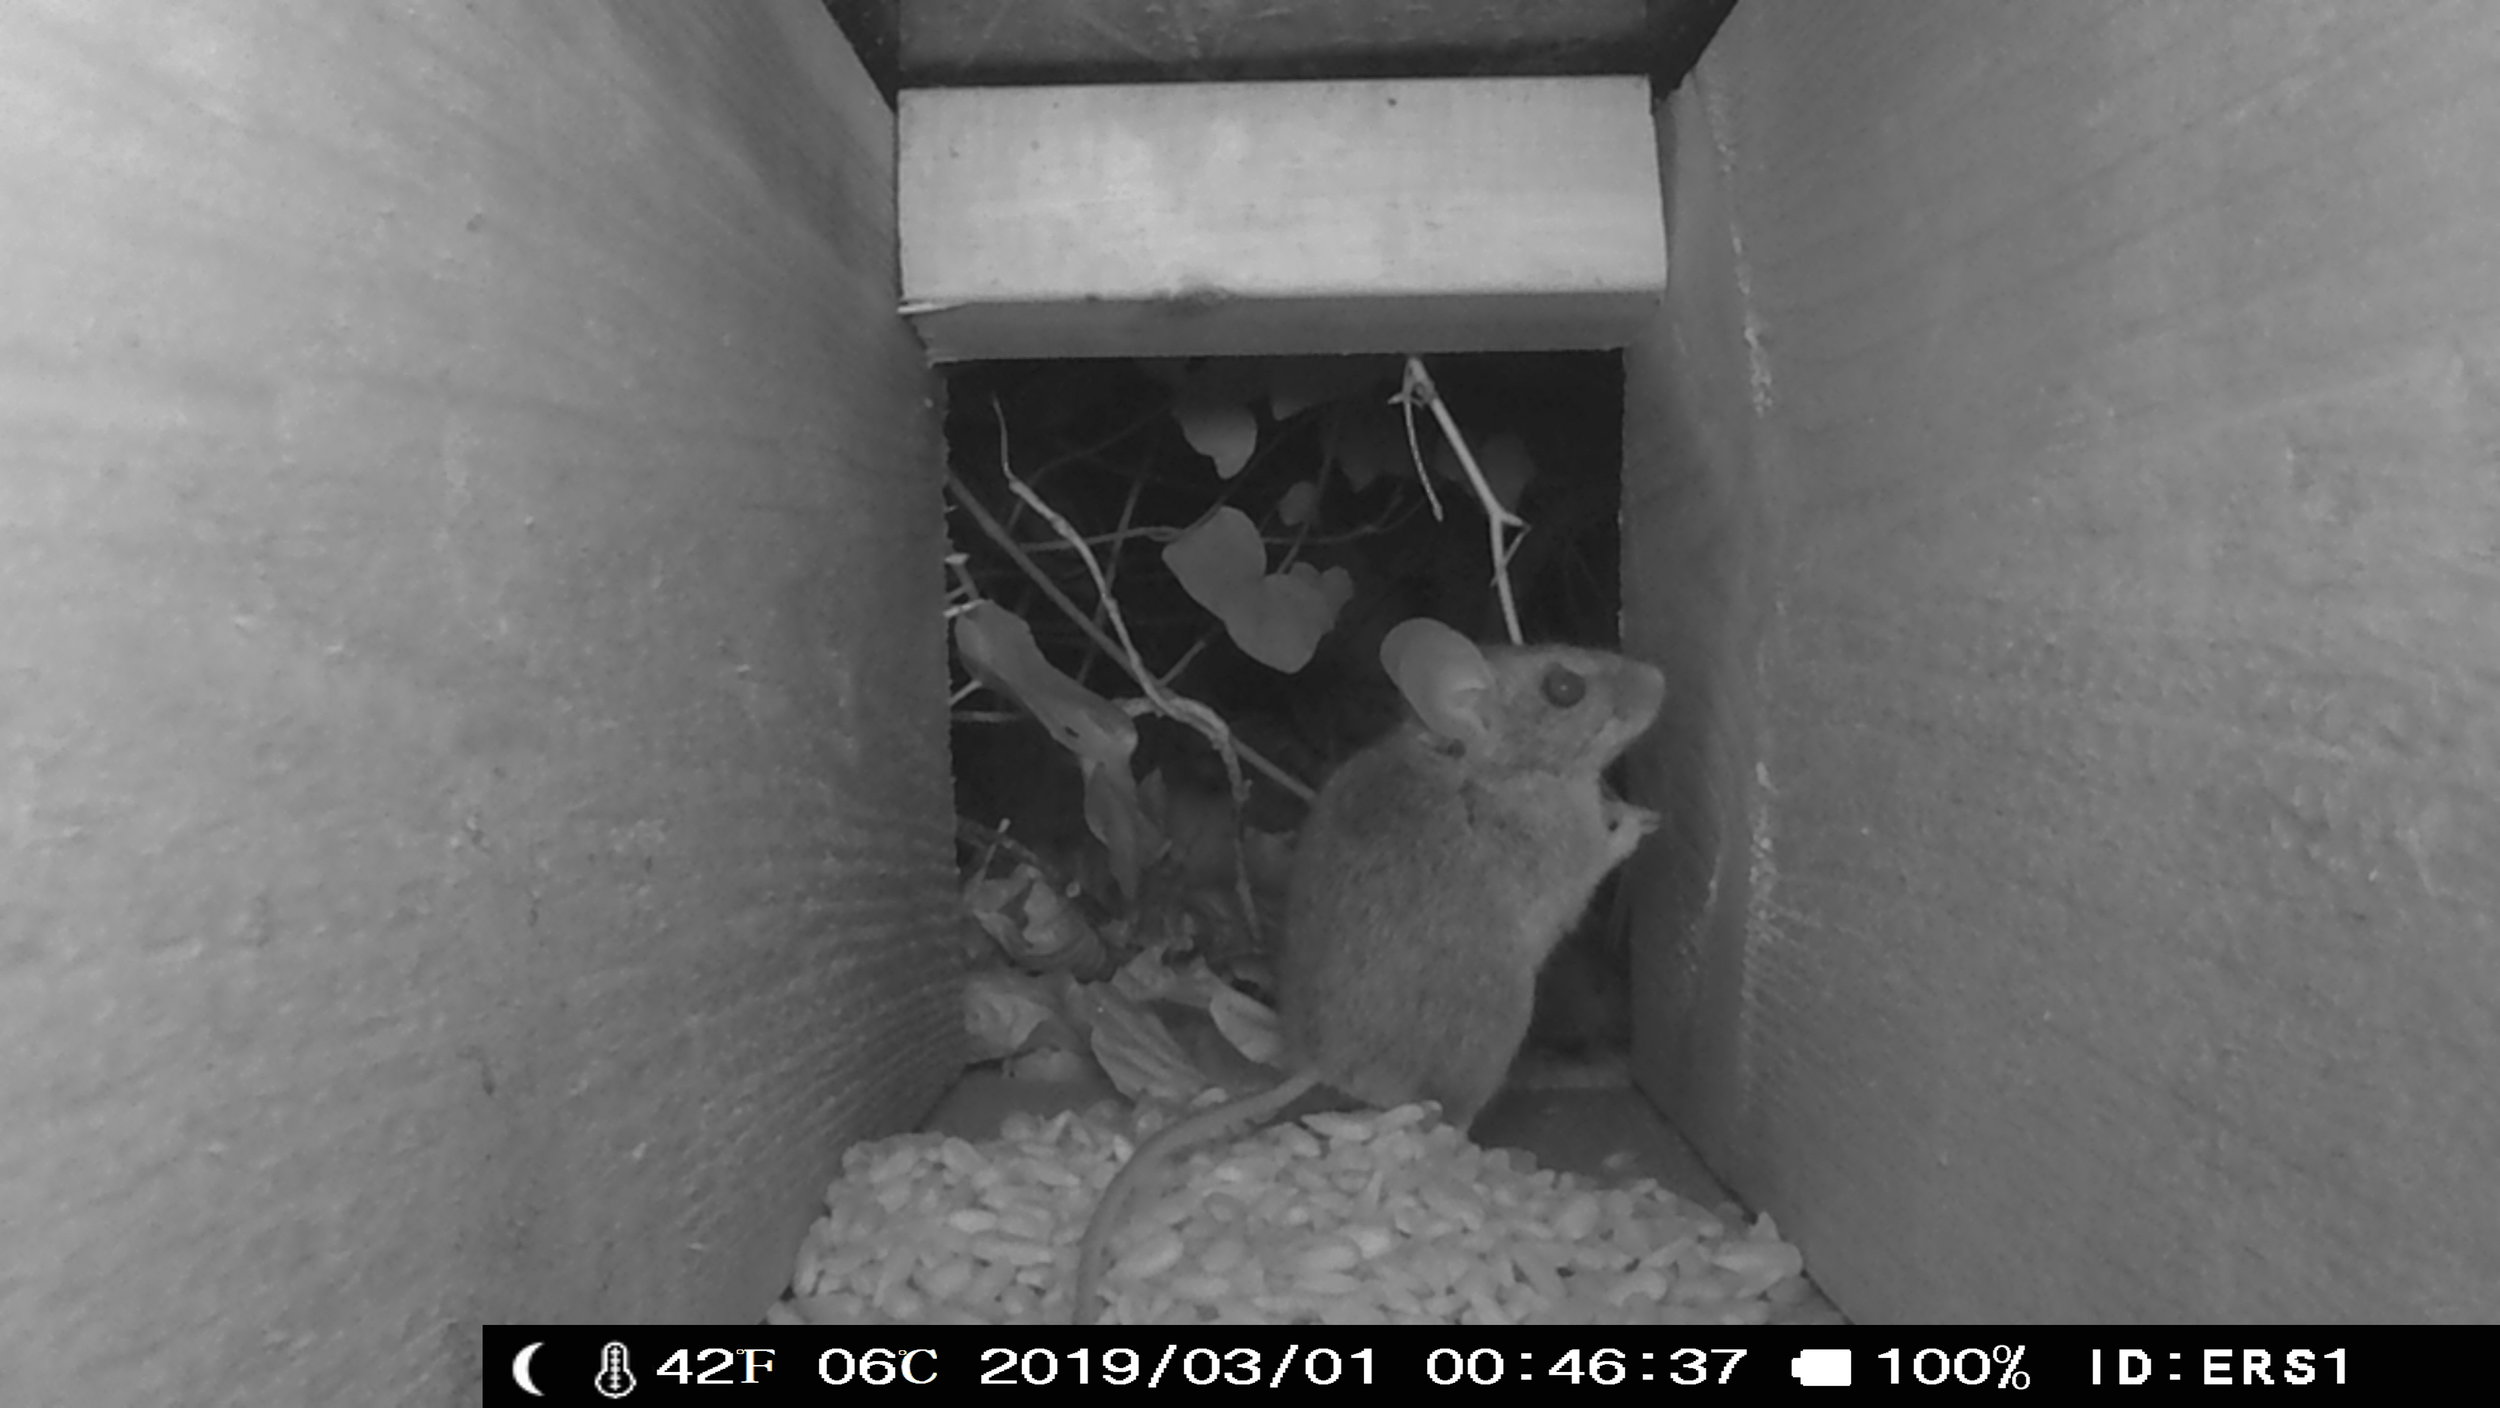
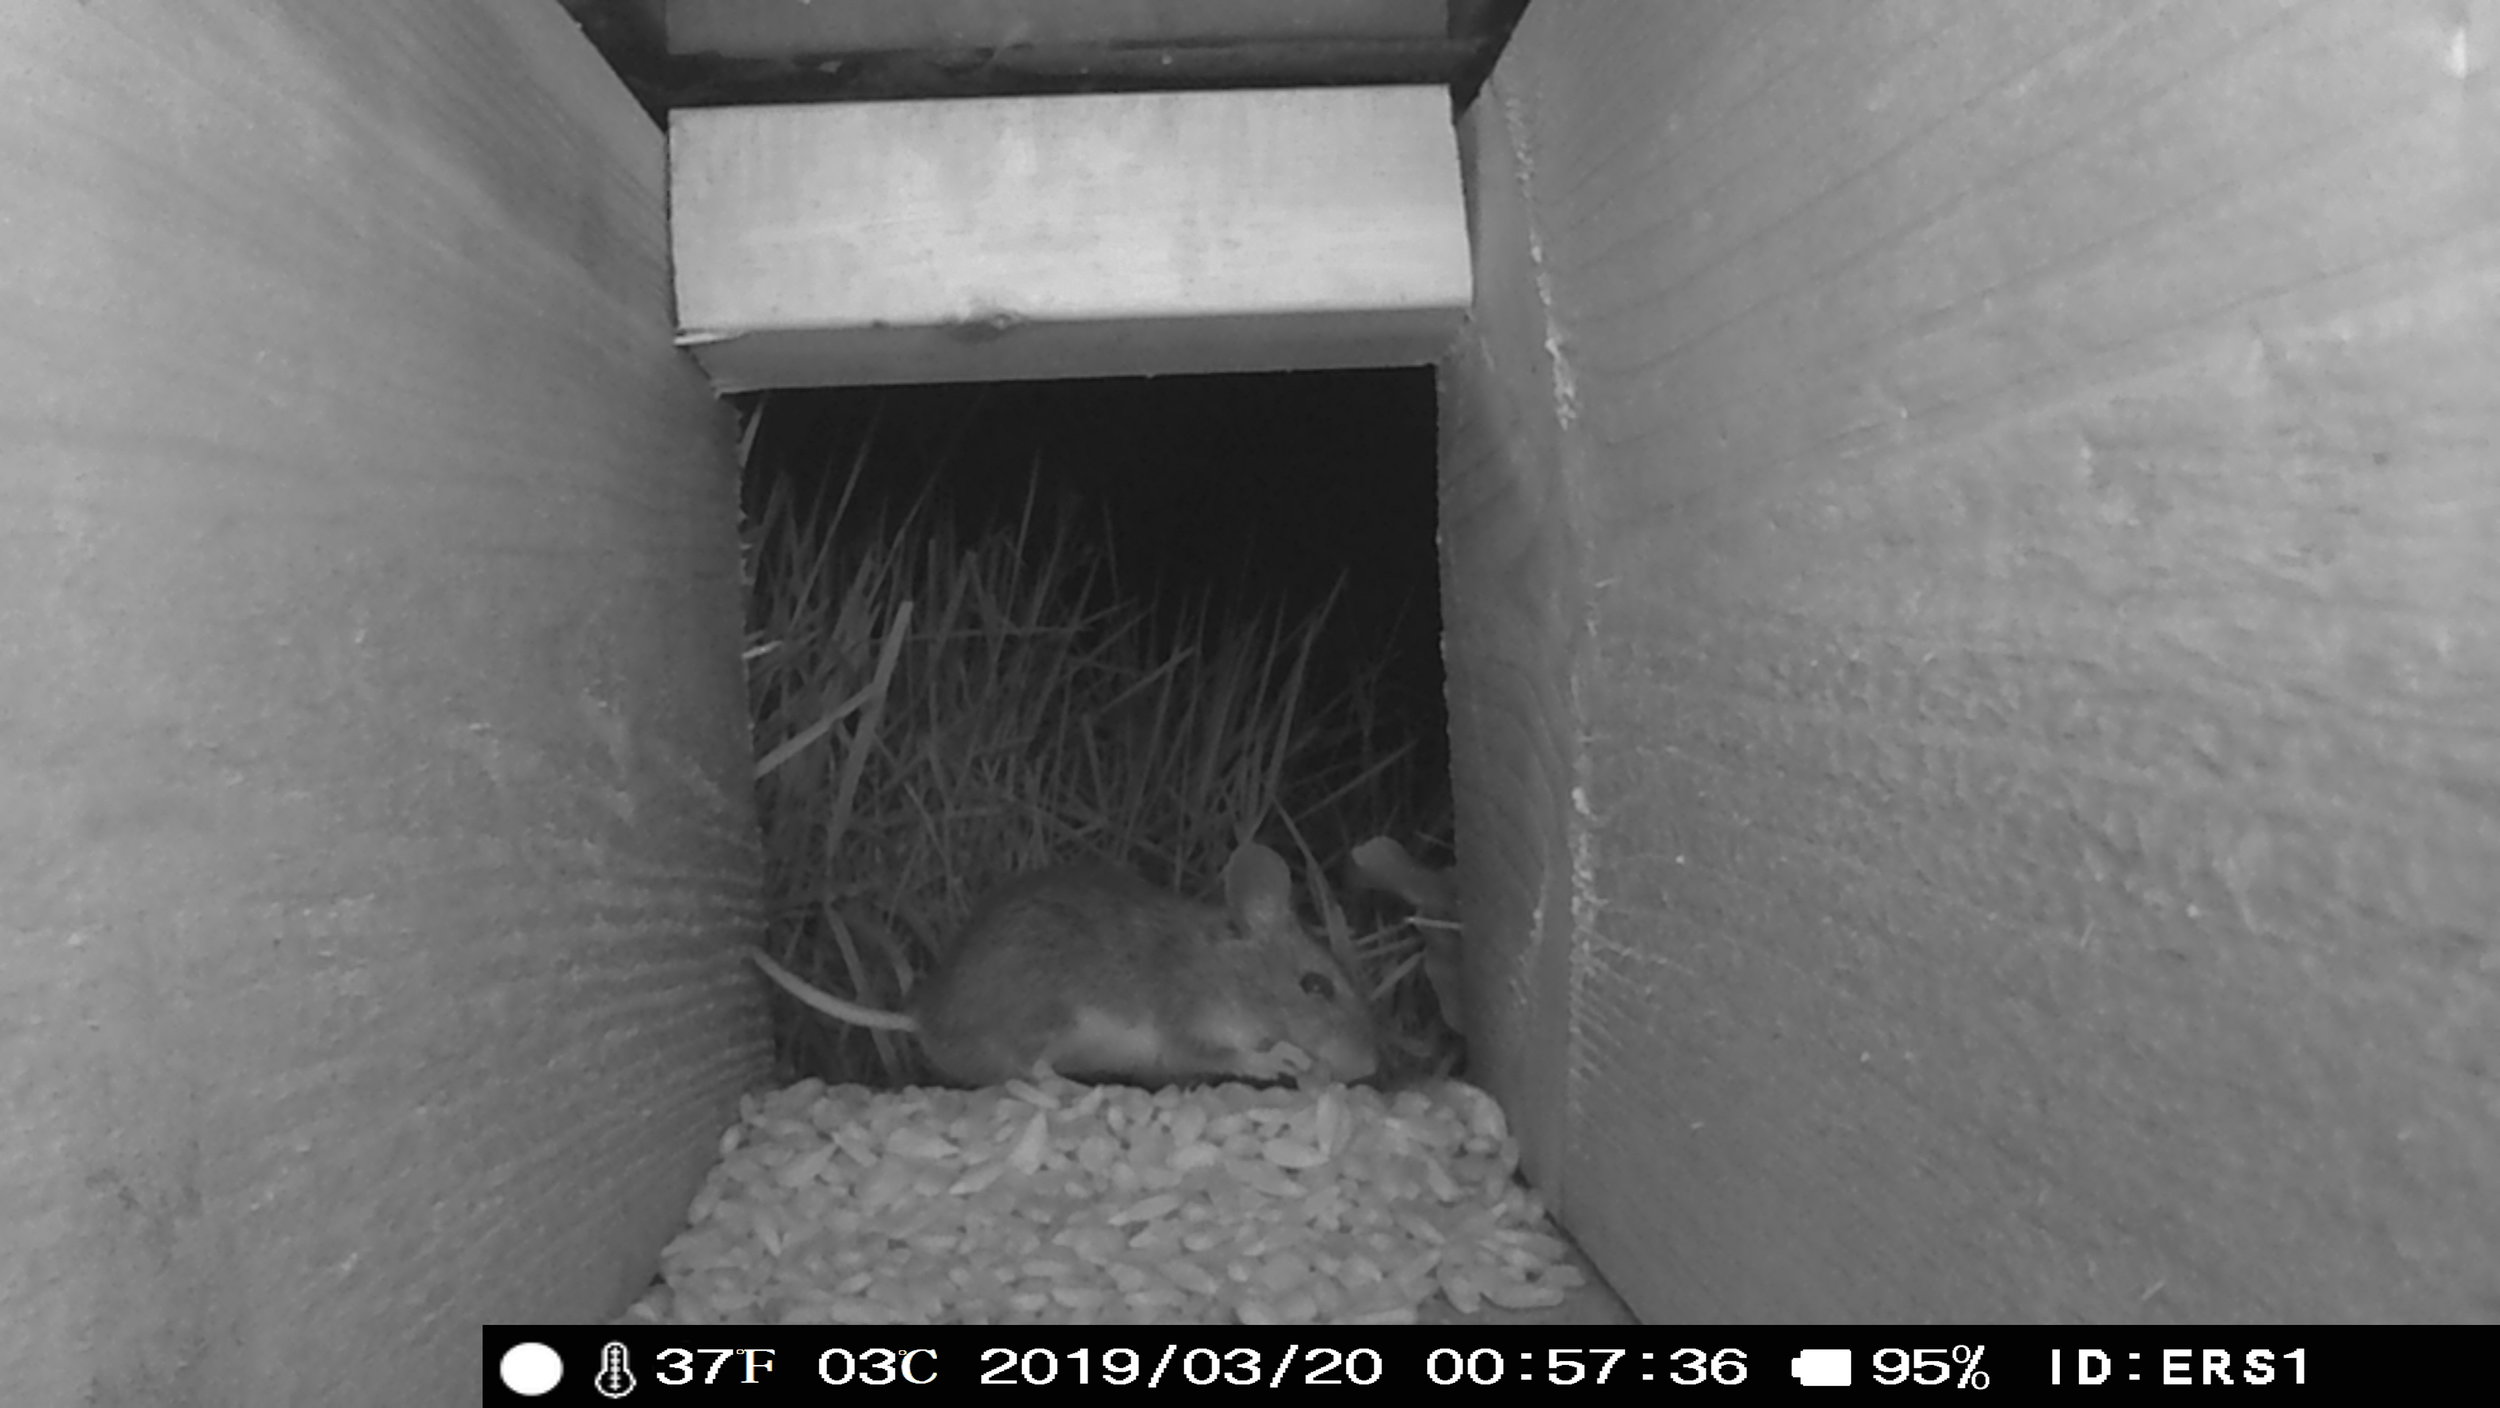
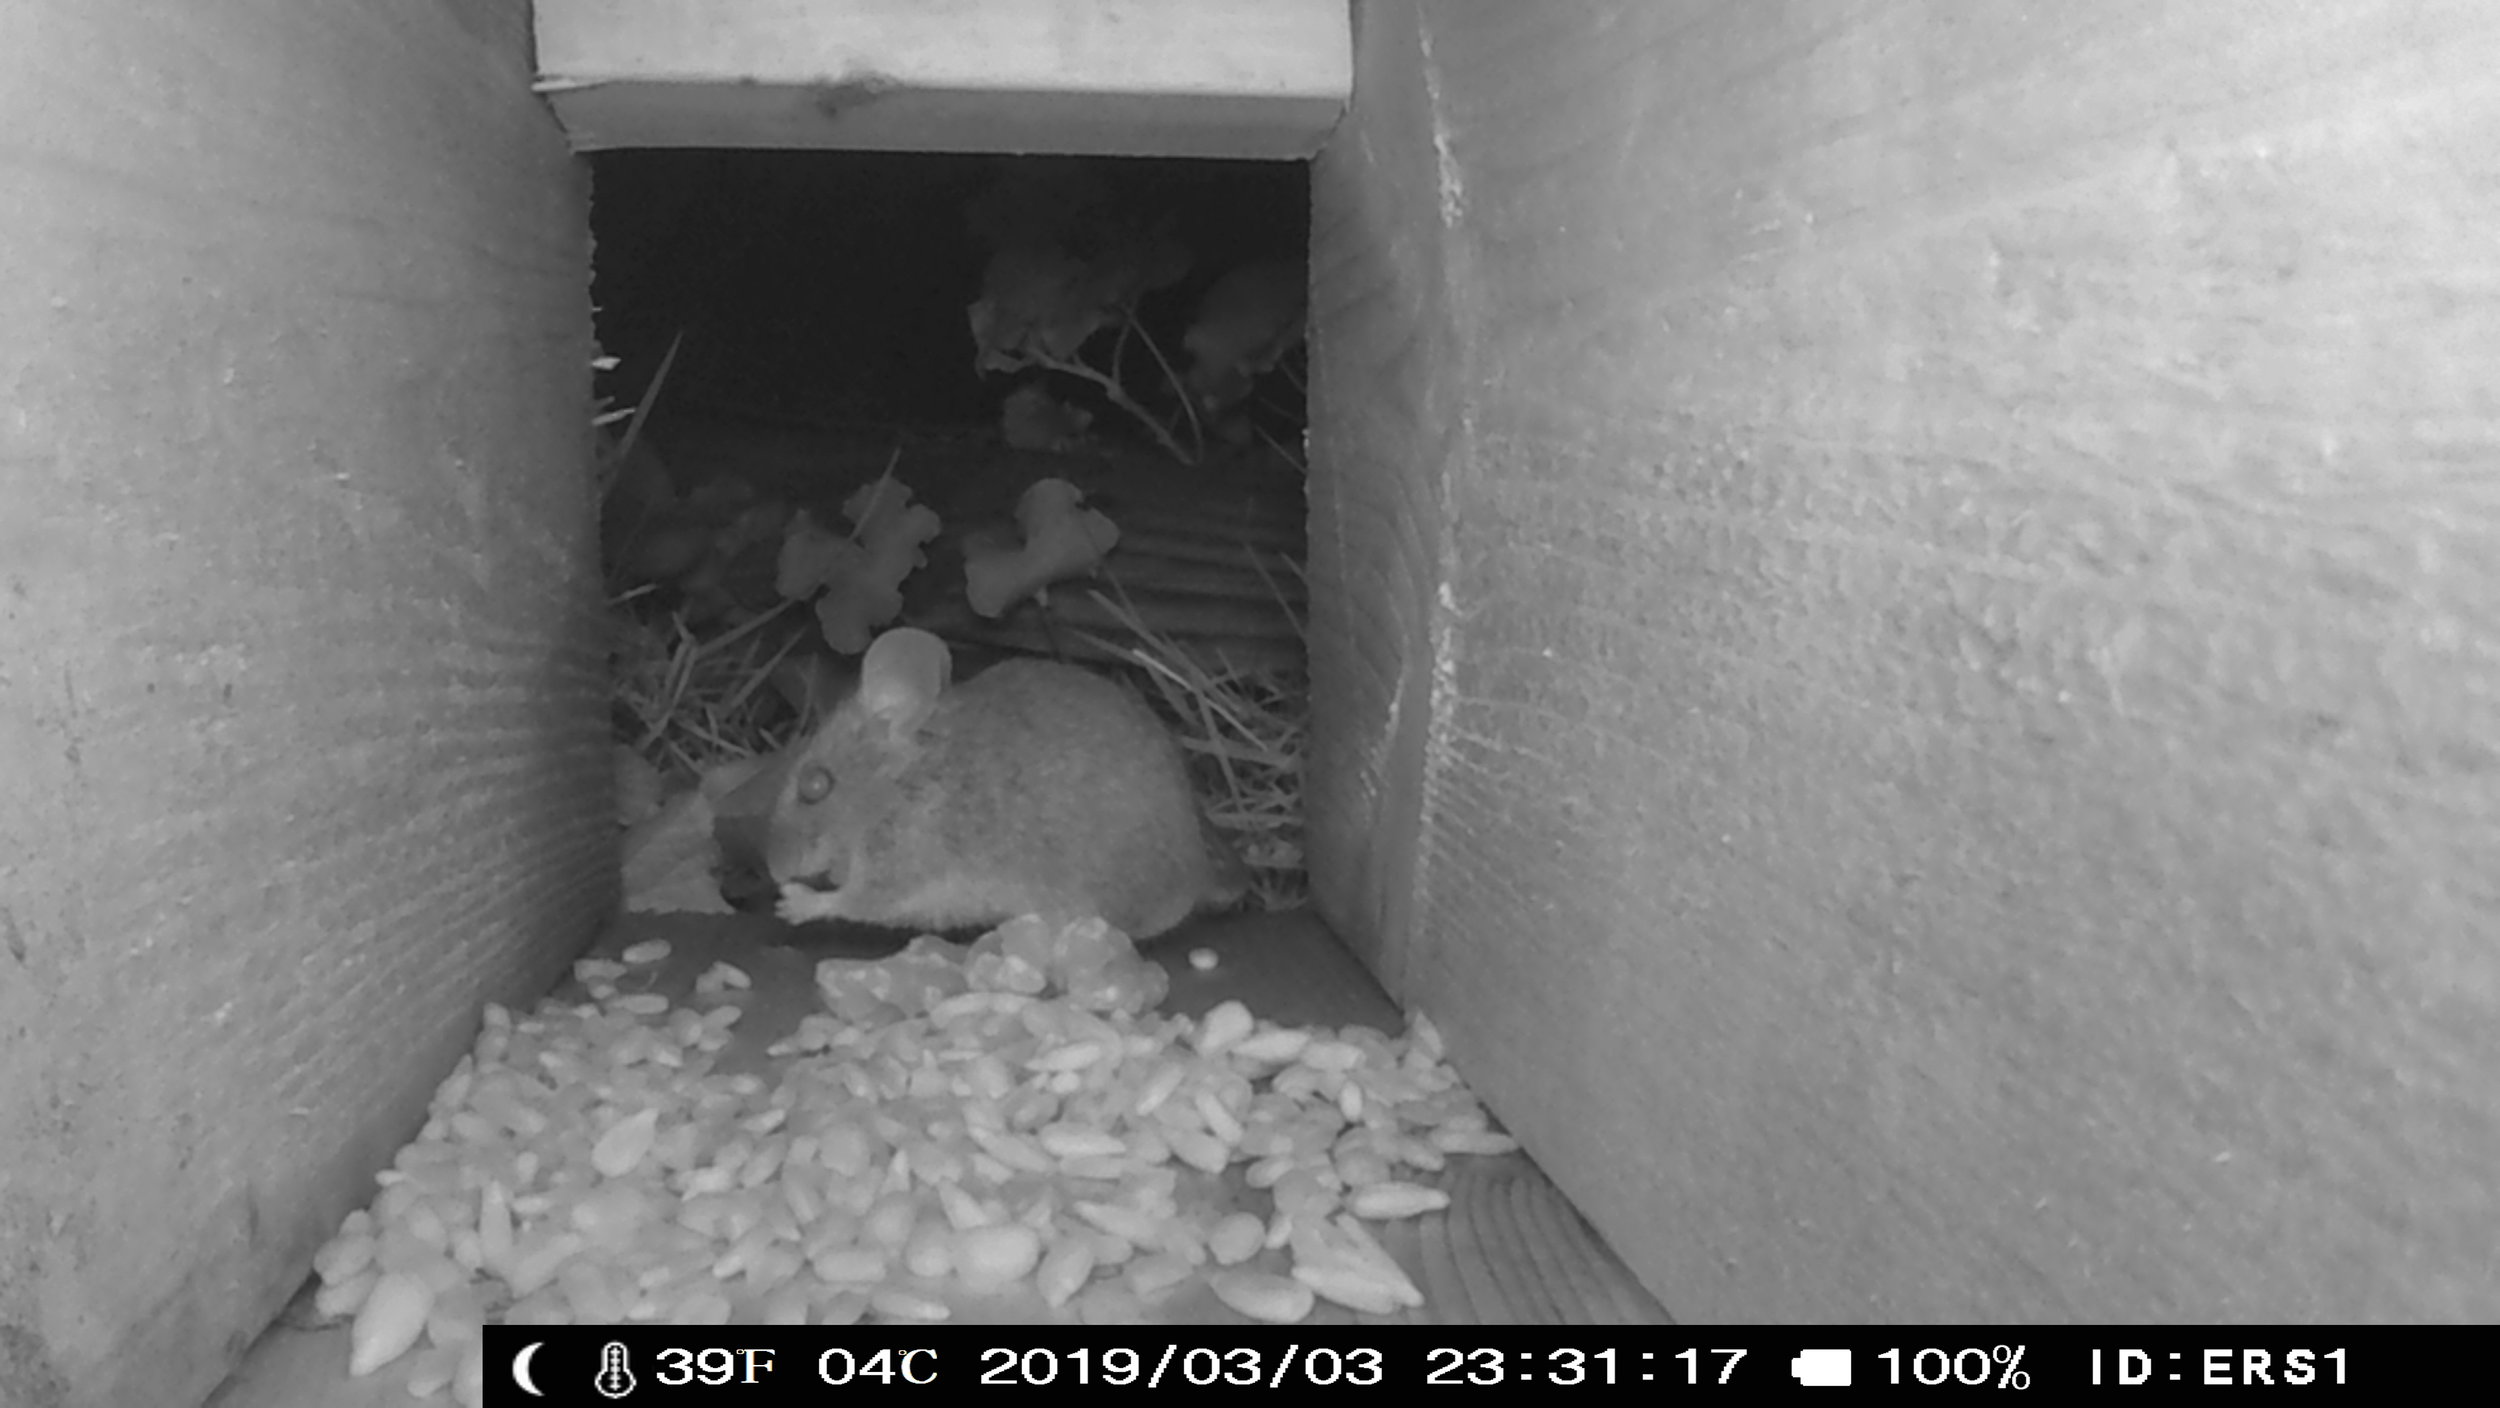
Now you have the tunnel and modified camera it’s time to get trapping! Bait the traps with seeds (for mice and voles) and mealworms (for shrews) and place the tunnel with one end facing some cover (e.g. in a hedge). Place the camera trap in the other end (if you are leaving the trap in a public area, you may want to chain and padlock it to a nearby tree/fence to prevent theft. We have had lots of success in garages and garden hedges on our properties too!). Leave for a few days, then take back in and hopefully, you’ll have some interesting photos!
Camera trapping small mammals is a relatively inexpensive and non-invasive way of surveying for the presence of small mammals. It also requires a lot less time and effort as well as a reduced risk to the animals compared to live trapping methods (it also removes the need for handling). Unfortunately, there aren’t currently ways to individually identify animals but camera trapping is a really good method if you are trying to passively survey areas for small mammals or if you just want to see what's at the bottom of your garden. There may be some need for testing and seeing what works best for your particular set up and ‘survey area’ but with adequate testing, you can get some really good results.
Happy trapping!!